Technicolour table runner trousers

This table runner had been in my stash for quite a while.
Bought at a jumble sale in a fairly upmarket area adjacent to mine, I was attracted by the colourful embroidery against the strong blue background.
There was no label and I wondered if it was an unwanted holiday souvenir from some exotic location.
This fabric is the product of a very clever loom because the reverse is plain blue, with just a few slubs of the embroidery threads visible.

I had auditioned this fabric many a time for projects past, but despite my hopes and dreams, it had never made the final cut .. …. until now.
As it was long and thin, trousers were to be the thing, combined with denim.
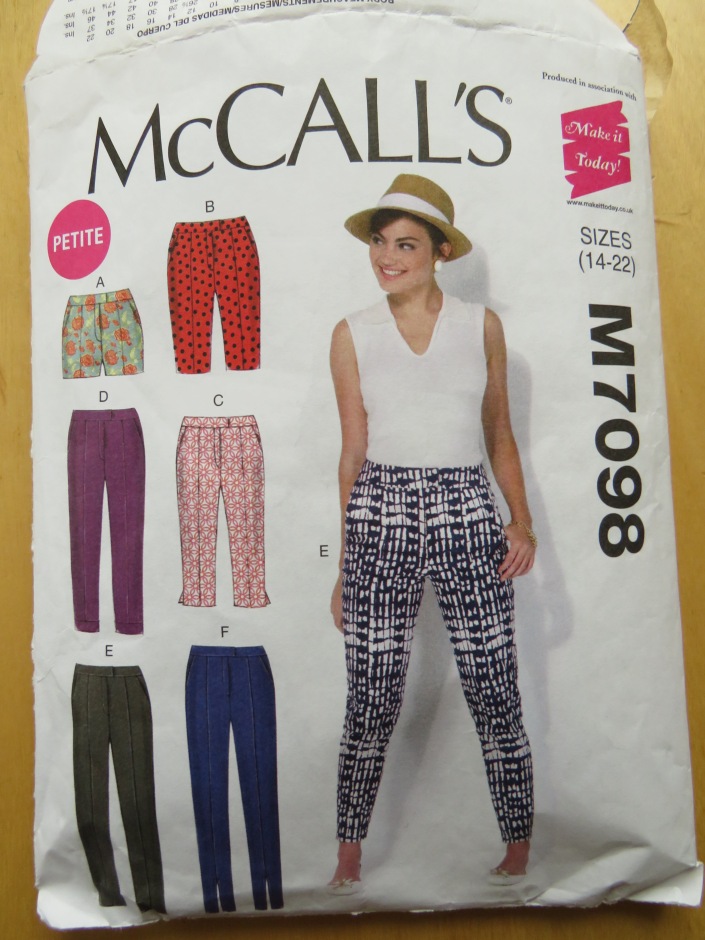
I was using this commercial pattern, given free with a magazine, having first made a shorts version toile to check the fit.
I was adapting the pattern to suit me by missing out the front fly and making a flat fronted version with a side zip.
Pattern makers always seem to want to mess with your mind.
First they bring you down a peg or two, or rather up a size or two by indicating from the given measurements that you are actually a couple of sizes bigger than you thought you were.
Swallowing your pride and making up the suggested size, you find that it is actually miles too big, so you end up ignoring measurements on the packet and making up the size you first thought of, well that’s what happens to me anyway.
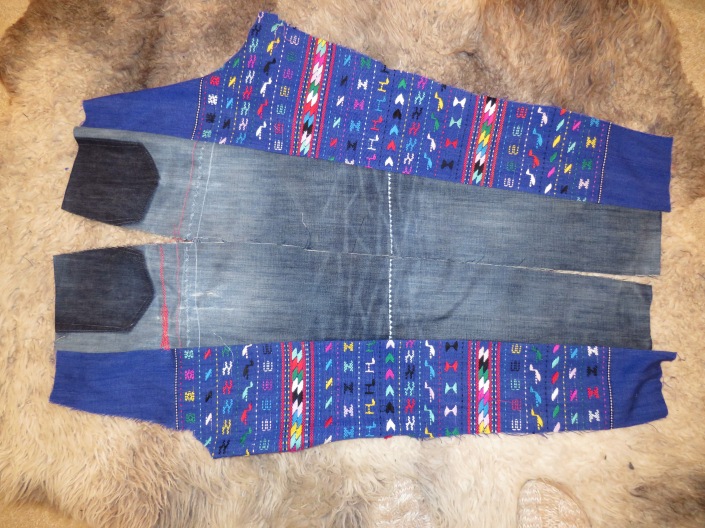
There wasn’t enough fabric for all of the trousers but as this pattern had seams down the middle of the legs I was going to use the tablecloth to make the middle sections.

I was careful to lay out the pattern pieces to match the patterns up on the tablecloth.
This lovely soft pair of jeans, seen here with the pocket already removed, formerly residing in the other side of the wardrobe, were perfect for the outside legs. They were worn thin in parts but I thought this could be stabilised with some embroidery to compliment the table runner.

After having a go at hand embroidery, shashiko style,

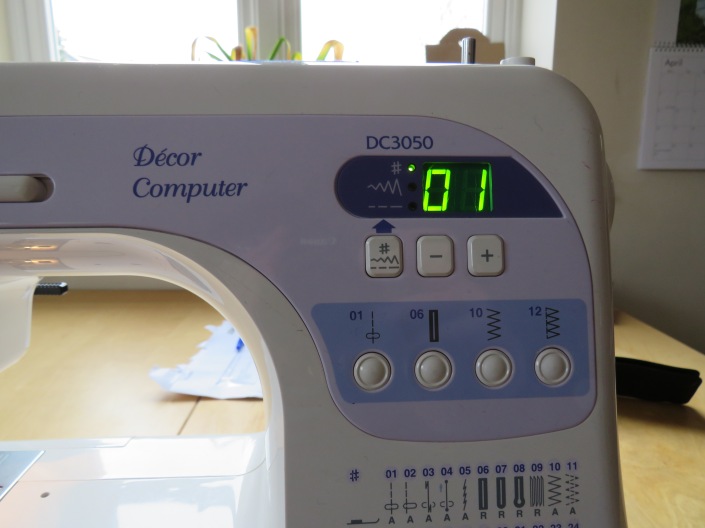
I could see it was going to take an age and not look that good, so I turned to my machine. As it is actually named ‘décor computer’ there are a number of fancy stitches which it could complete and which I was relying on to strengthen the worn denim areas.

Everything was going well, I sewed the thing up, inserting the reclaimed zip from the jeans, and tried them on, the trousers were still a bit big.
At this stage there were 3 problems
1. The pattern matching was spot on at the back but off at the front.
2. I started to wonder if the trousers were looking like something a clown might wear.
3. The loose weave of the tablecloth was coming apart at the seams.

I scratched my head about the pattern matching before realising that the table runner was not symmetrical around the centre, and this had thrown the pattern off when it was sewn up. Too late now, I would have to live with it.
The carefully pressed seams would have to be re-inforced somehow. Once again my machine came to the rescue. It has an overlock stitch, which although on the main menu, I rarely use. I sewed over all the seams again using this stitch, which is like a running stitch and a zigzag combined. It is heavy on thread but useful for fraying fabrics and I made a mental note to use it more often in future. This also made the trousers a mm smaller over all seams, making the fit perfect.
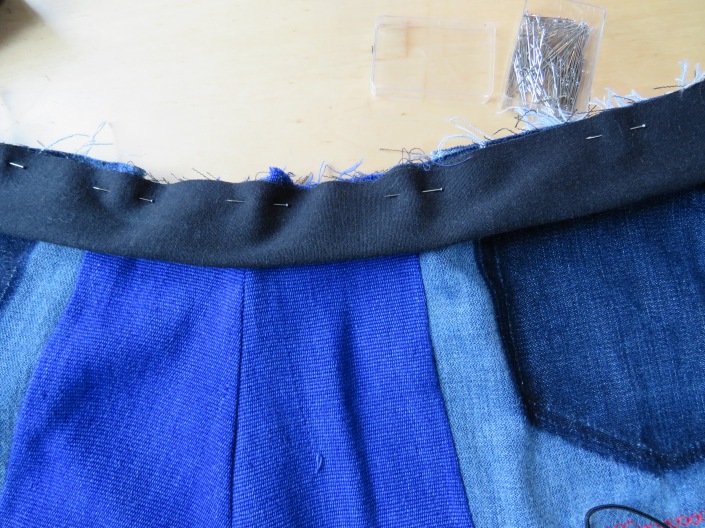
Wanting the waistband to be comfortable (I want all my clothes to be comfortable) I found a slightly stretchy black denim from a previous refashion which I cut a strip of and folded over. I was going off pattern again here – my method was simpler but I admit looks a bit messy on the reverse – a commercial maker would cover all the mess with some pretty tape – I may bind it myself later.
I put the trousers on again and skipped around the house in them for 10 minutes – only the hem left to finish. When I took them off I noticed it was clear that the loose weave could not tolerate even the most minor strains. At the centre front seam, gaps were starting to appear. Nothing for it but more re-inforcements.
I selected some no stretch uncompromising ankara from my stash and anchored it to the denim parts of the seams to make a sort of bib to protect the belly and bum areas so that the centre seams were not under any strain whatsoever.

The effect of this was to take a little more off the size – its a good job they were a bit big in the first place.
At the hems I left a fashionable bit of fraying on the denim parts, mostly out of necessity to preserve the length.
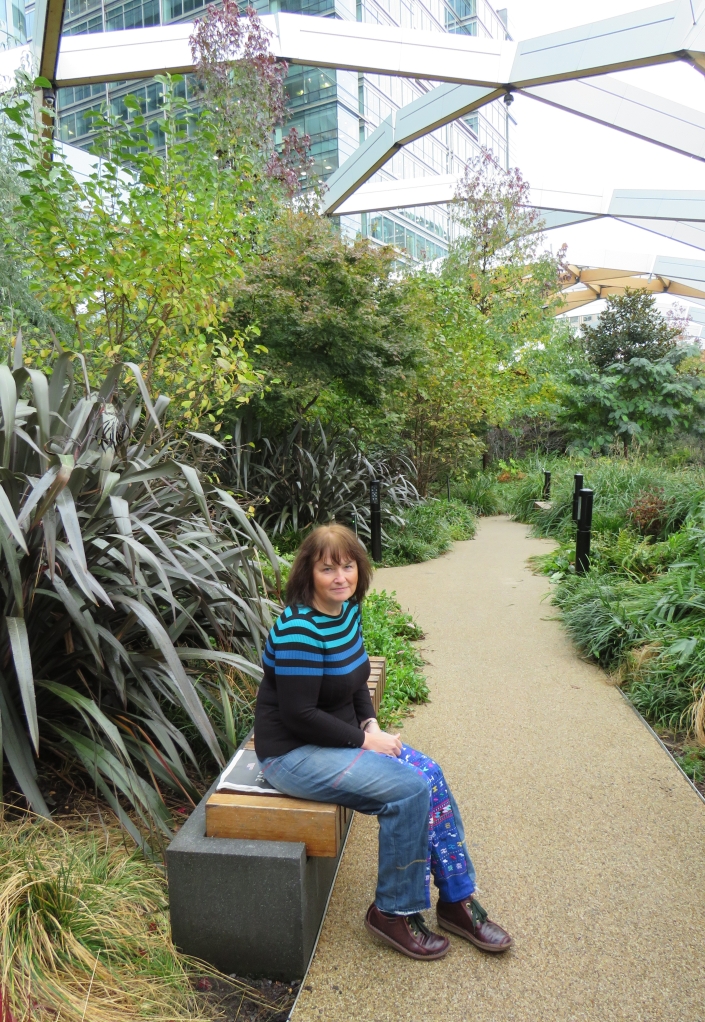
I brazenly tried out my clown trousers at a roof garden in one of the most fashionable parts of town.
![IMG_0584[1]](https://whatthesew.files.wordpress.com/2018/11/img_05841-e1541113556230.jpg?w=705)
Bonus feature – Nordic tunic
During a local charity shop trip, I opened a drawer in a vintage dressing table which revealed that it was full of actual fabric. Most of it looked like home textiles but I bought a green flowery piece, I suspect dating from the 80’s, mostly just because I was surprised to find it on sale.
Using a commercial pattern I sewed up this item described on the cover as a nordic tunic, although I suspect this is just a way of making a simple dress sound more interesting.
![IMG-20181101-WA0002[1]](https://whatthesew.files.wordpress.com/2018/11/img-20181101-wa00021.jpg?w=705)
It was a very quick sew, a couple of hours, quicker than most refashions I do, am considering making another. The pattern description suggests making it in different weights of fabric for different seasons and it is indeed versatile, being able to be worn with a jumper, t-shirt, or nothing underneath.
